My Epic Dive into the Shrine of Ancient Tears: Solving Puzzles and Finding Treasure in Sea of Thieves
Ahoy there, mateys! Let me spin you a yarn about my latest adventure in Sea of Thieves, a real doozy that had my crew and me scratching our heads and swimming for our lives. It was 2026, and the seas were still churning with mystery, especially with those Siren Shrines from Season 4. We'd heard the whispers about the Shrine of Ancient Tears, a place chock-full of coral treasure that could fetch a pretty penny on the surface. But let me tell you, this wasn't your average loot-and-scoot job. This shrine was a real brain-buster, full of puzzles, hidden journals, and, of course, the legendary Chest of Ancient Tributes. So, grab your grog and settle in, because this is one tale you won't forget.
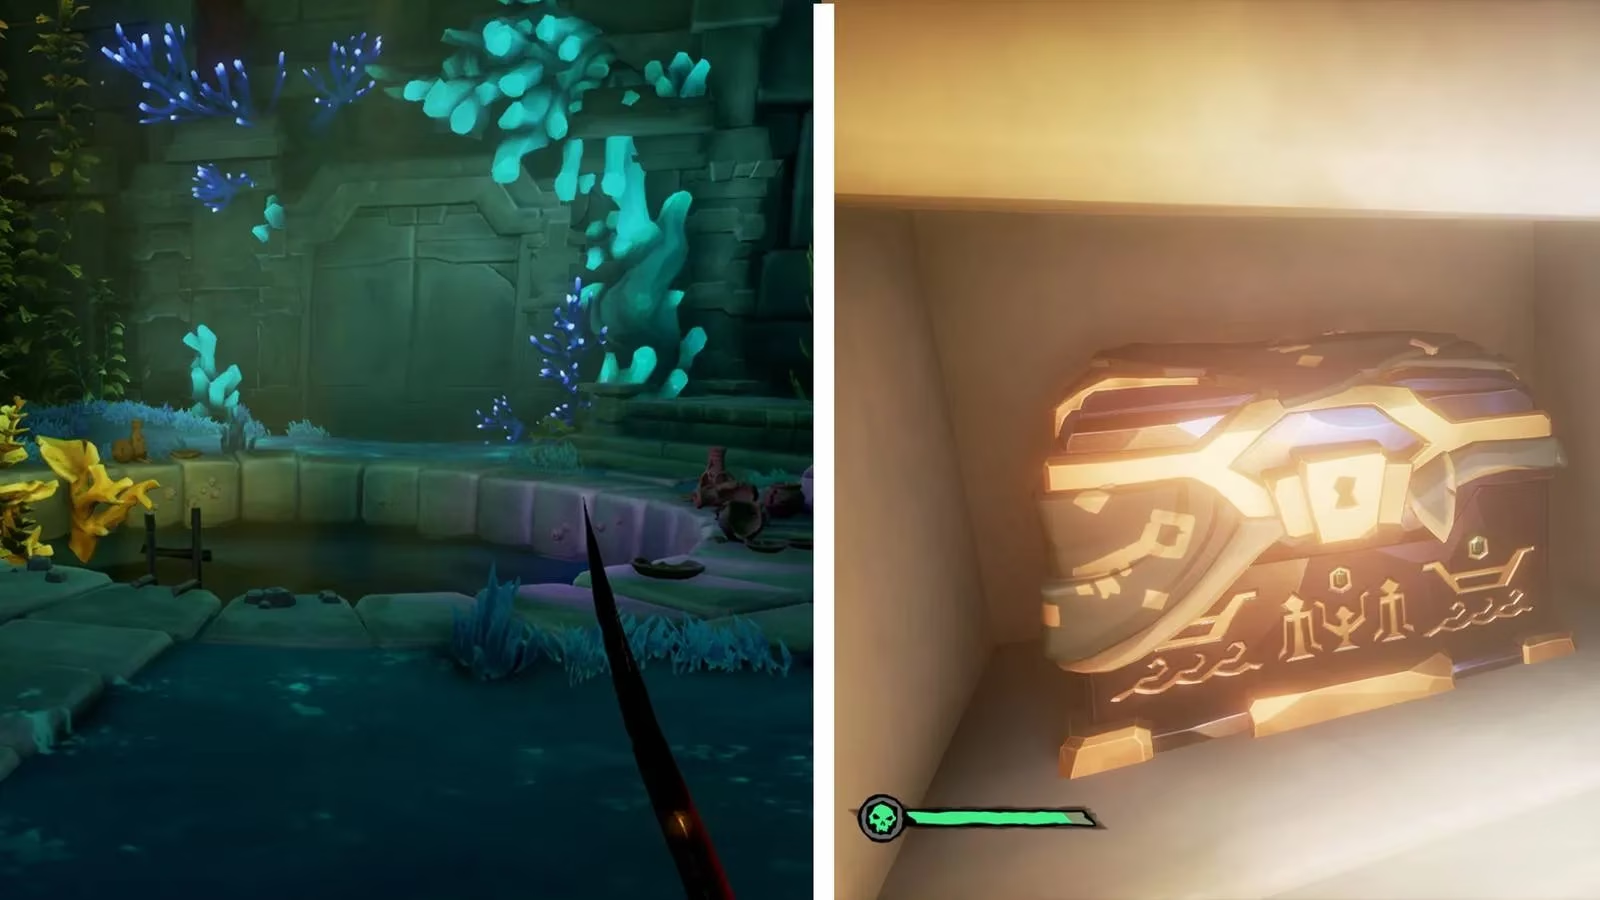
After a long sail, we spotted the tell-tale shimmer below the waves. Diving down, we found the entrance—a Siren Window, one of those watery force fields from the old Pirate's Life tales. My first mate, Barnaby, spotted the blinking piece of coral above it. "Shoot that thing!" he yelled, and with a well-placed pistol shot, we were in. The pressure was on, literally and figuratively.
We swam into the main chamber, a massive cavern with a roaring waterfall, ancient stone steps, and a flooded well at the bottom. It was eerie, but the promise of gold kept us going. Right away, we saw four unlit braziers along the staircase. "Light 'em up!" I shouted, pulling out my trusty lantern. One by one, we set them ablaze, the flames casting dancing shadows on the walls.

Then things got tricky. On the floor, we spotted buttons with weird symbols—three triangles and a line. There were four of them, and when I stepped on one, a loud click echoed through the chamber. A timer! My heart raced. We had to step on all four before time ran out. We scrambled, slipping on the wet stone, but we made it just in the nick of time. A door at the top of the steps, marked with the same symbol, groaned open. Phew, that was a close call!
Inside the new room, we found four more braziers. Lighting them was a piece of cake, and a door on the lower level swung open. This led us to a central area with a Sunken Merfolk Statue and some glowing mushrooms in the middle. "Remember this spot," I told the crew. "It's gonna be important later." The shrine was divided into sections, each marked by a painting of an animal. First up was the butterfly zone.
This place was a real head-scratcher. We had to light three braziers and then, quick as lightning, pull three levers before a timer ran out. It was like herding cats, but we managed. A door at the end of the hall, with a butterfly symbol on the floor, opened up. Next, we entered the turtle section, fighting off a few pesky coral skeletons along the way. Here, we had to light six braziers—talk about a workout!—and then pull three levers under time pressure. Success opened two doors: one to the parrot area and another to a small room with another Merfolk Statue and two extra braziers. We lit those and moved on.
The parrot zone was where things got really sneaky. We found four braziers to light, but only two levers were visible. "Where's the third one?" Barnaby grumbled. Then I remembered the buttons from earlier. Near the entrance, we found a button on the ground next to a lever. Stepping on it, a secret compartment in the wall slid open, revealing the missing lever! We pulled all three, and the door to the crab section opened.
In the crab area, we lit four more braziers. But two levers were hidden again, this time in compartments marked with crab paintings. One button was near the entrance; the other was submerged in water at the far end. After a frantic swim, we hit them both, pulled the levers, and finally opened the last door. To our surprise, it led us right back to the beginning, at the glowing mushroom area. And guess what? The wall behind the mushrooms had opened up!
We swam into the new room, and there it was—a treasure trove! In the middle was a big button. Stepping on it, three secret compartments in the walls revealed themselves, overflowing with shiny loot. And in one of them, gleaming under the eerie light, was the Chest of Ancient Tributes. My jaw dropped. This baby was worth a minimum of 3,400 gold, maybe even more with our emissary flag. We stored all our hard-won treasure with the nearby Merfolk Statue and let out a collective cheer. We'd done it!
But our adventure wasn't over yet. As a completionist, I wanted to find all five hidden journals for the Aquatic Archaeologist trial and to unlock the Legend of the Sunken Kingdom voyage. Here's the lowdown on where we found them, straight from my logbook:
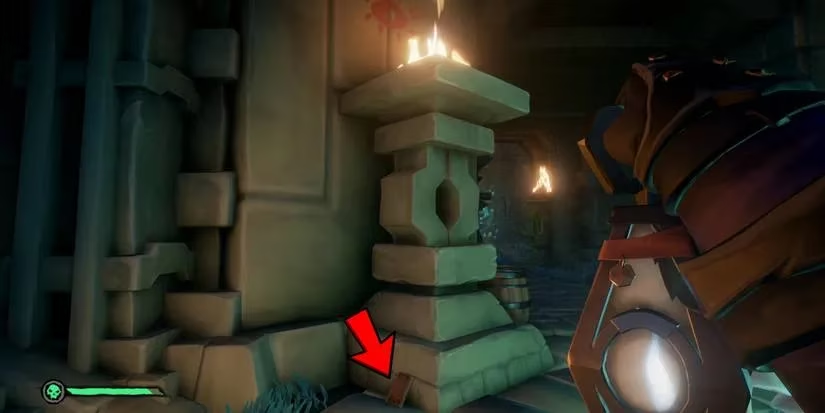
- Journal 1: Shrine of Ancient Tears: Near the flooded well in the main chamber, on the right side of an altar with a yellow upside-down triangle symbol.

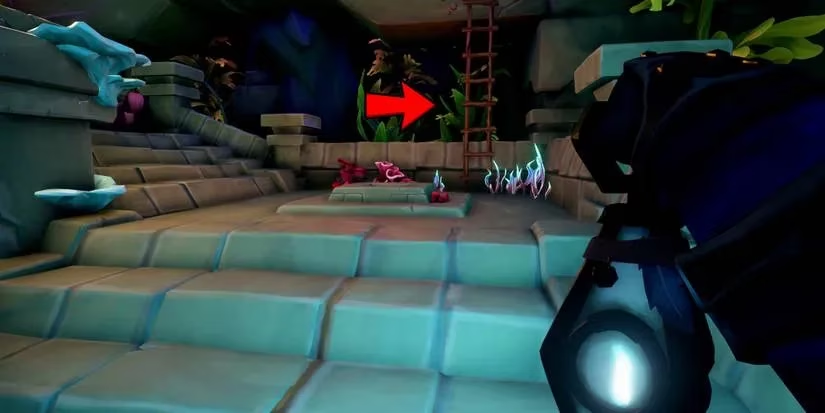
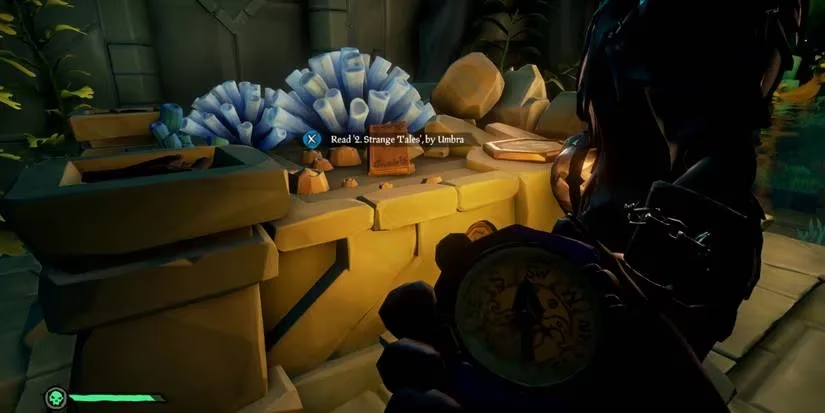
- Journal 2: Strange Tales: This one required some parkour. We climbed a ladder on the stone steps, jumped across coral platforms, and found a room with a lever marked by a blue water symbol. Pulling it drained the well! We went down into the dry well and found the journal on another altar.
- Journal 3: Return of the Silver Blade: In the turtle section, on the ground near one of the braziers, to the right of the room with the extra Merfolk Statue.
- Journal 4: Fate of the Silver Blade: Back in the glowing mushroom area, on the ground to the right, under a torch with a crab symbol above it.
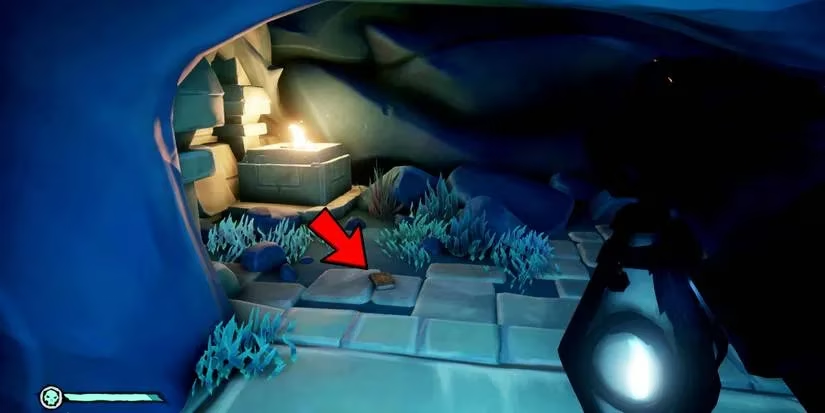
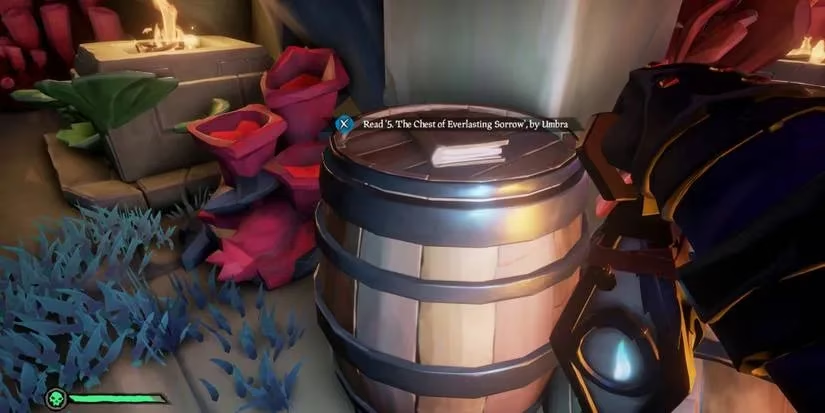
- Journal 5: The Chest of Everlasting Sorrow: Found early on! After lighting the braziers and hitting the buttons in the main chamber, we entered the first opened room and found this journal sitting on a barrel.
So, there you have it—my firsthand account of conquering the Shrine of Ancient Tears. It was a wild ride, full of "aha!" moments and a few facepalms. If you're planning to take on this challenge in 2026, remember: keep your wits about you, watch for those timers, and don't forget to explore every nook and cranny for those journals. Happy sailing, and may the wind be at your back! 🏴☠️⚓